How To Do A Manicure At Home
Step 1 – Shape Your Nails
Before you start off with your manicure, you need to remove the old nail paint. Then, clip your nails.
Soaking your nails for a few seconds before clipping them prevents breakage. Once you clip your nails, make sure you file them gently to whichever shape you desire. It is recommended that you file your nails in a round shape or a rounded square at the edges.
Metals and extremely coarse materials cause the nails to splinter. It is best to avoid them. Opting for a crystal nail file or a lightly coarse emery board is a good idea. Once you have shaped your nails, use a buffer to smoothen the sides and the tops of the nail. You are aiming for an even surface, but you also need to remember that if the nails are too smooth, the nail paint will slop.
Step 2 – Soak & Scrub
This is definitely the best part of the manicure. It is almost therapeutic to soak your hands in warm water.
Place some warm water in a tub, making sure it is at a comfortable temperature. Add a cleanser to the water. Your face cleanser will work perfectly in this case because adding anything soapy will dry the gentle skin of your hands and make your cuticles look worse. The ideal soaking time is about three minutes. While it is extremely essential to soak the cuticles before trimming them, over soaking can damage the skin and nails.
Once you have soaked your hands, apply a gentle scrub (you could use your face exfoliator too), and scrub your hands. Use a brush to clean your nails. Scrubbing and exfoliating will successfully remove the dead skin. Wash your hands with clean water and then pat them dry.
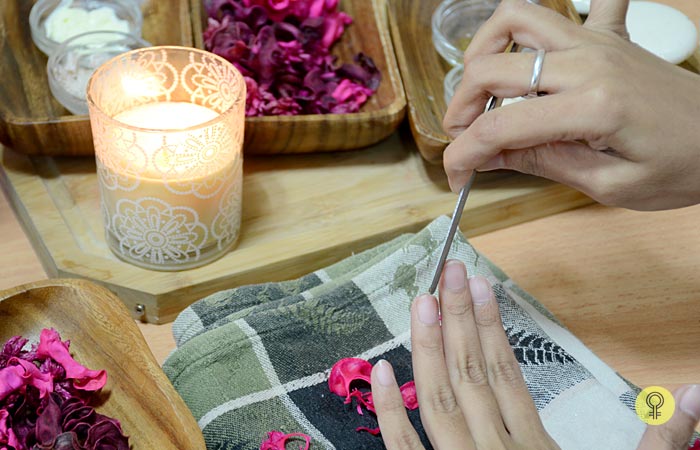
Step 3 – Cleaning & Trimming The Cuticles
Adding a little bit of cuticle remover before you start working on them can make all the difference. Leaving it on for a few seconds will do the trick. Then, using a cuticle pusher, gently push your cuticles. Make sure you don’t push them too far. That could either damage the cuticle or hamper nail growth.
You need to be extremely gentle while you work with your cuticles. Make sure you don’t pull, rip, tear, force, cut, or lift the cuticle. You need to just nip off the free edges using the nippers.
It is a little-known fact that the cuticle protects the nail bed from damage or bacteria. So, damaging it could put your nail bed at risk.
While you clean your cuticles, don’t forget to gently remove the hangnails by the sides of your nails.
Step 4 – Moisturize
Now that your hands are clean and supple, use a rich, creamy moisturizer, and massage it into your cuticles and hands. This will hydrate and replenish the skin. If you don’t have a good moisturizer at hand, you can use your favorite oil instead.
Step 5 – Glam It Up With Nail Polish
Of course, this is an optional step. You may or may not want to apply a nail polish.
If you plan to add some color to your nails, you need to make sure there is no moisturizer left on the nails as it will not allow the nail paint to stick well. Use a cotton swab to remove the excess cream from the nail surface.
If your nails are weak or brittle, it is a good idea to apply a base coat first. You can use a transparent nail polish or a ridge filler. Apply the color of your choice on your nails. Allow it to dry for a few seconds, and then apply another coat. To add to the luster and shine, add a top coat.
The best way to make your manicure last long is by touching up your nails with the top coat (transparent nail polish). This will also enhance the appearance of your nails.
Clean up gently in case the nail paint has spread. Now let your nails dry. Don’t use a hair dryer as the heat might chip and peel the polish. You can dry your nails under the fan, but holding them too close to the fan could cause bubbles in them.
No comments:
Post a Comment